Guide / Get started
Get started
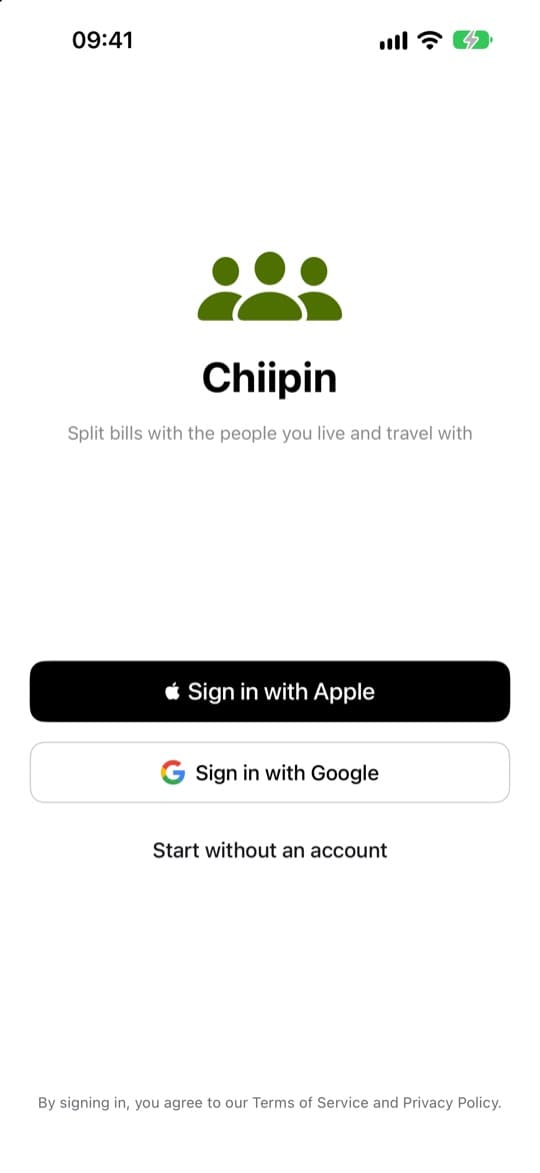
Sign in
Choose Sign in with Apple or Sign in with Google. Only here for an event? Choose Start without an account and give the name friends know you by. Bills and Storage need an account. Events don’t.
Create a group
Open the + at the top of the Split tab, choose New group, then give it a name and a currency.
Split > + > New group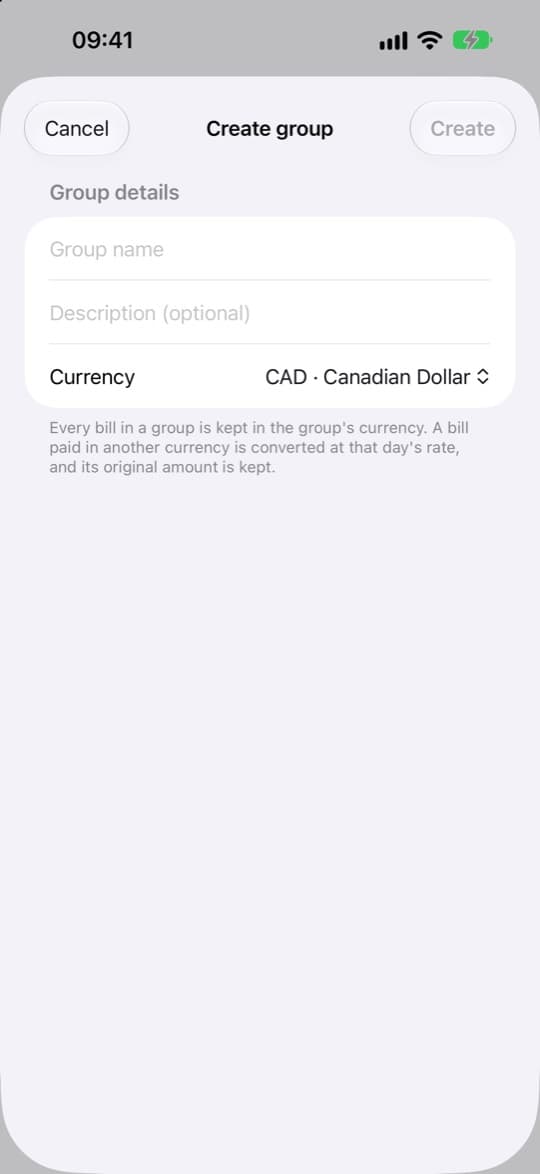
Add people
In the group’s settings choose Add people. Pick someone from your contacts who is on Chiipin, or switch to Invite link and send it to anyone else.
Your group > Settings > Add people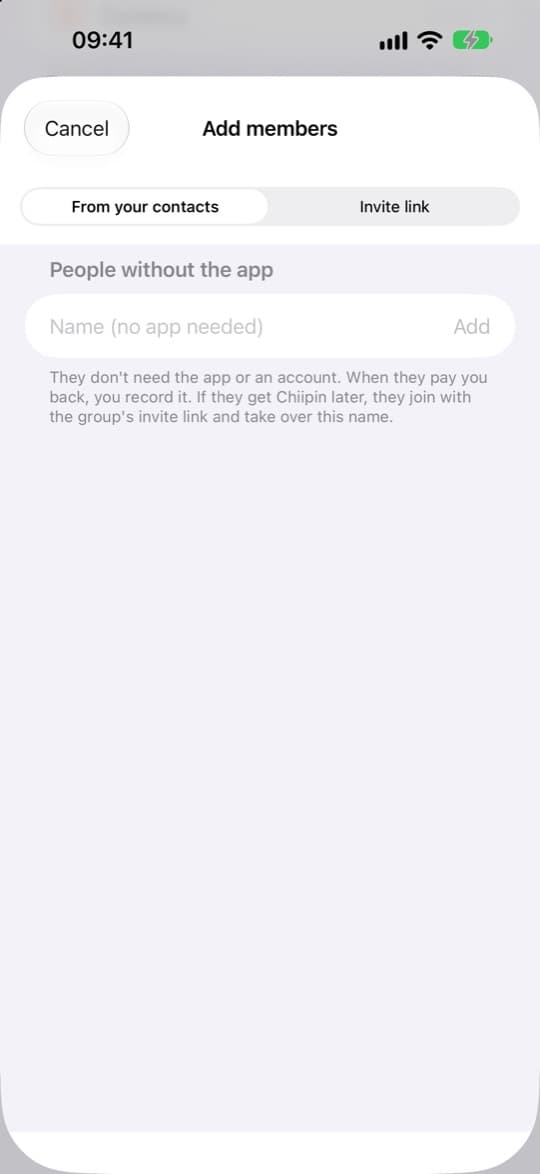
Keep your contacts in one place
Add a contact from your phone, or use Scan or enter a code. Someone who isn’t on Chiipin yet gets an invitation by text message.
Profile > Contacts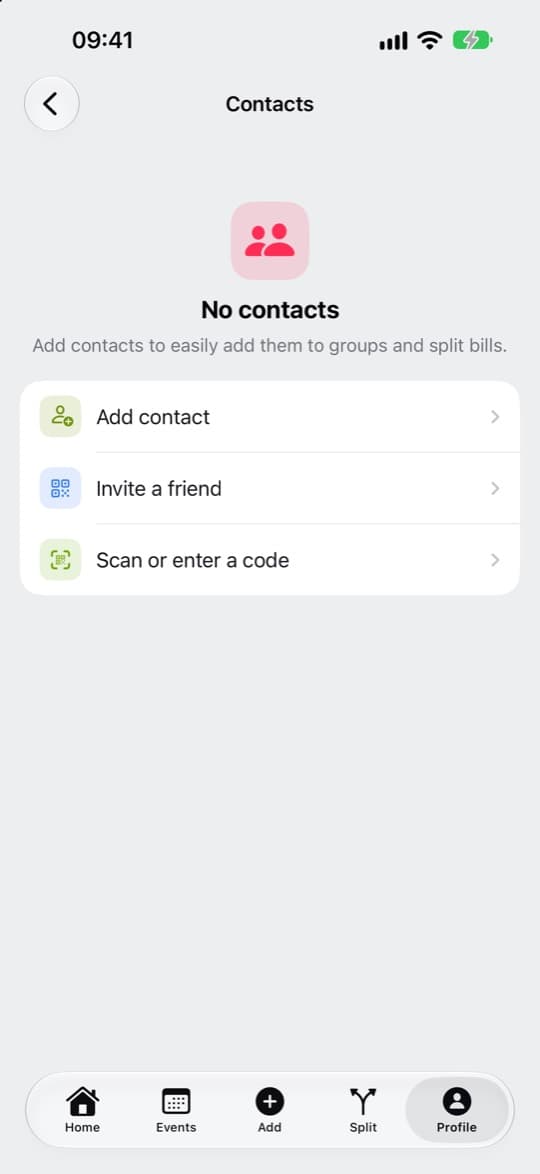
Choose what you hear about
Pick which notifications reach your lock screen. Turn on Email what I missed to get one email a day listing anything you haven’t read after a day. It’s off until you turn it on, and every email has a link to stop it. On the web it’s under Notifications on your profile.
Profile > Notifications